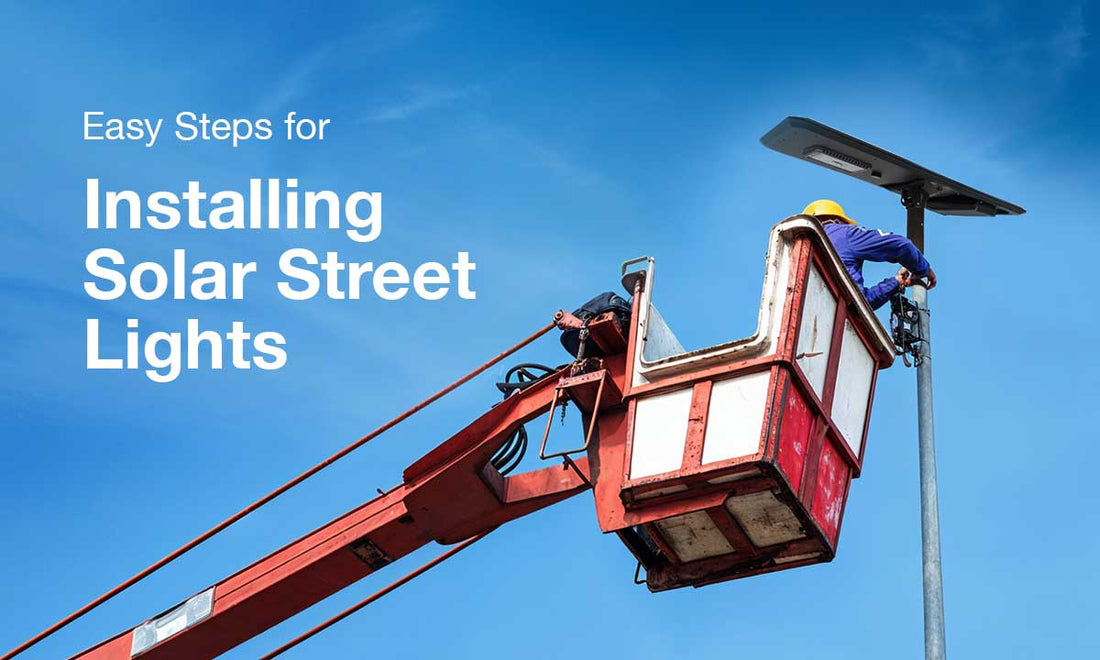
3 Trouble-free Steps to Install Solar Street Lights
Solar street lights come in different shapes and sizes depending on the area they need to light up and cover. Bigger sites require onsite training and technical help. To ensure multiple installations are done professionally and with the right expertise, we’re providing a list of installation steps.
Understanding the pre-installation process for solar street lights
There are specific steps you must follow before starting the installation process. You must also make sure you have the right tools in place, so let’s begin with enlisting the tools and steps altogether.
Tools for installing solar street lights include:
- 20-meter startup hoist
- Monkey Wrench
- Inner Hexagon Wrench
Pre-preparation steps:
- Mark guarded lines around the construction area so that pedestrians or cars do not enter. Only technical and installation experts are permitted to stay in the construction area.
- Ensure you know about the safety procedures and installation steps through the instruction manual, including the circuit diagrams, etc.
- Check the solar street lights kit which should have:
- Solar Panel
- Flange
- Battery Box
- Battery
- Controller
- Solar Bracket
- Light Fixture
- Lamp Pole
- Access Panel
- Basis Cage
3 trouble-free Steps to install solar street lights
There are three main steps required to install the solar street lights. Each step has a process of its own, which we will explain to you comprehensively.
Step 1 – Set and install the base: the first step is to install the foundation by choosing a flat, leveled area. Make sure that the section on the ground does not incline before you start installing the base.
Screw the basis cage and secure it with four screws. The basis cage should be placed parallel to the edge of the road. Once this is done and the screws are fitted properly, secure the cage further by adding concrete.
Step 2: Install the battery and the battery box: Now, take the battery and position it next to the basis cage. You must place it underground at about 600 mm and then connect the circuit as per the instructions provided through the circuit diagram.
Step 3: Layout and position the street lamp: Use a supporting bench to lift the lamp pole by a meter above the ground. Secure the solar bracket at the top of the lamp pole, install the light fixture, and re-check all the connections and installations. Make sure you use a crane to erect the lamp after which you can place the controller inside the lamp pole.
Your solar street light is ready to work its magic!
